Car Glass Tinting: What to Look for In the Finished Job
So, you decided to get the windows tinted on your car. You looked into all the local vendors, learned more than you probably wanted to about visible light transmission, researched what areas of your car your state will allow you to tint, and decided how far you wanted to follow the rules.
Perhaps you went to Calgary’s premier car glass tinting shop – Tint Tech – to get the windows tinted. Now you ask yourself – “how do I know that I got my money’s worth from the shop?” While we at Tint Tech guarantee all our work, you still want to make sure the auto tint was done right the first time – no matter where you get your car glass tinting done.
Here is a helpful checklist to make sure that your car glass tinting is top notch.
Step 1 – Check the Heat Transmissio n
Open the car door and stand so you have one hand in the direct sunlight, and the other in the shadow of the window. Many modern, high quality films are designed to block UV and infrared rays from the sun, and you should feel that the hand behind the window is significantly cooler than the one in the sunshine. This is the biggest return you will get on your investment in window tinting. A good quality tint will protect the fabric and plastic that make up your interior from breaking down as quickly (old car smell, anyone?). It will also provide you with a more comfortable environment in the summer so your air conditioner won’t have to work as hard to cool the car.
Most people elect by personal choice or state regulations to tint the rear windows and rear windshield more heavily than the front side windows. Check the heat transmission on whichever window has the lightest tint and allows the most visible light through. It is important to remember that the ability to block these invisible rays from the sun is not necessarily tied to how dark the tint is. You don’t need to look like you’re driving in a limousine, and you can have a film on the front side windows light enough to allow 70% of visible light penetration and still have the benefit of this protection.
Step 2 – Check Overall Visibility
Sit in the car and check your field of view. Move your head back and forth as you look out your driver side window, passenger window, and rear window from the point of view of the driver. Are there any obvious ripples in the tint? Climb into the back seat and repeat with the back doors and rear windows. Make sure there is no distortion when looking through the tinted glass at various angles because this could pose a safety hazard on the road.
Step 3 – Inspect the Defrost Bars
Check for any gapping or bubbling around the wires on your rear window that provide the defrosting action. Because these present a raised surface, a hasty install may not adequately adhere the film to the window, and provide the seed for separation between the film and the glass that will only get worse over time and distort your field of view.
Even without signs of obvious gapping, with the edge of a credit card or a fingernail, gently press on the film near the wires in several spots. Check to see if there is visible flexibility in the film, or if you can hear it sticking to the window briefly before pulling away again. If either of those are the case, ask questions of the installer. Did they use extra adhesive to fill in areas covered by the dot matrix? Are they willing to go over those areas again to make sure they are secured to the window properly?
Step 4 – Inspect the Film Near Window Edges
There is a caveat associated with this advice. You should not roll down your windows for 3-5 days after the film is applied. This waiting period ensures the sheet has bonded fully to the window glass, otherwise you risk introducing lifting or scratches to the film.
While at the shop, you can check the visible edges where the film terminates near the sides of the rear window, and by the frame and weather-stripping on the doors. You are looking for a clean, even line that follows the edge of the window without wavering or fading. Faded spots may indicate that a section of film was stretched or put under other stress during installation and presents a possible point of failure.
Once the cautionary period has passed, roll each window down slightly and check the edges of the film at the top edge of the window. Like the other edges, the tint should terminate in a sharp, clean line that follows the contour of the window edge without wavering.
Step 5 – Double-Check Your Paperwork
While you’re waiting for the tint to be applied, look over the documents you signed and see if the shop or the tint manufacturer offers a warranty on the tint. Tint Tech does offer certain warranties, so check with the installer if Tint Tech is installing the car glass tinting for you.
If your installer does provide warranties, verify what is covered with regard to the materials and labor cost, and how long it is valid. If there is a warranty period, perform the same checks at regular intervals of 3-6 months for the duration of the warranty to make sure there is no delamination of the film, cracking, bubbling, or other failure.
Make sure you keep the warranty paperwork in a safe place, but not so safe that you forget where it is. Window tint is an investment in your car far beyond the aesthetic benefit, and it is worth protecting.
Finally, Protecting Your Tint
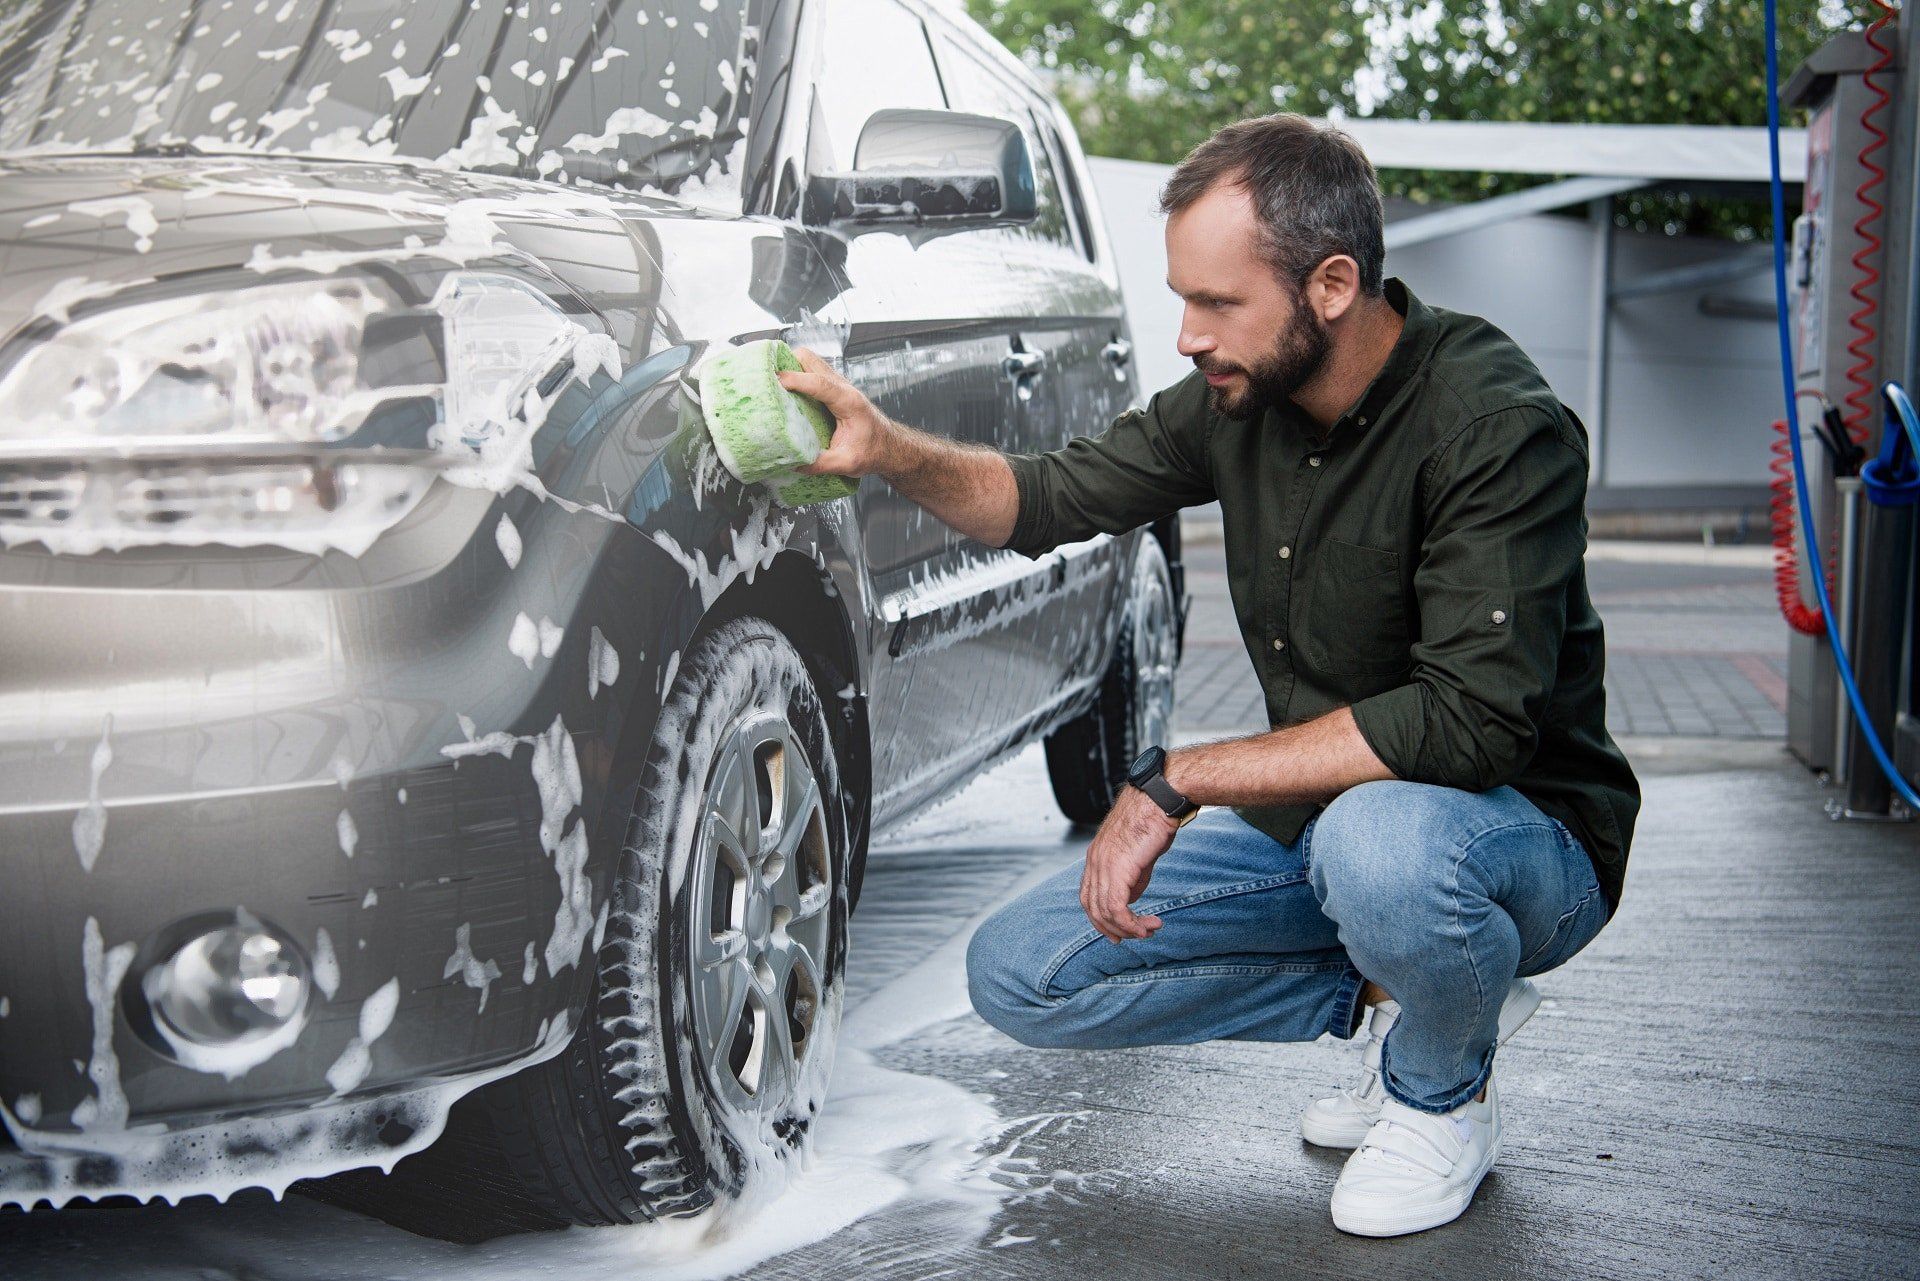
Professional car wash establishments should know how to care for tint when cleaning and detailing the interior of your vehicle. If you like to be more hands on about your maintenance and wash your own car, remember not to use anything abrasive on the interior glass to maintain the integrity of the tint film. A microfiber cloth and a mild cleanser will be more than enough to clean the windows and keep from scratching the tint so you can continue to enjoy it for years to come.
Tint Tech is Calgary’s top car glass tinting shop. If you have any questions, call 1-403-968-8468, or be sure to fill out our online contact form.
Disclaimer: The information on this website and blog is for general informational purposes only and is not professional advice. We make no guarantees of accuracy or completeness. We disclaim all liability for errors, omissions, or reliance on this content. Always consult a qualified professional for specific guidance.


